Plan First Multi-Day Trek Patagonia: How to Plan Your First Multi-Day Trek in Patagonia: A Step-by-Step Guide
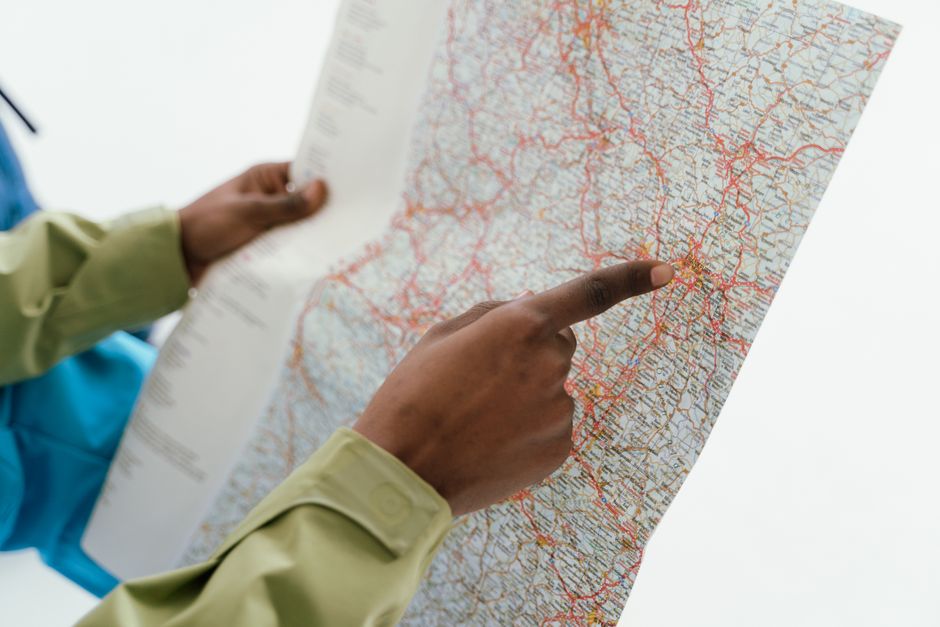
Over 250,000 people visit Torres del Paine National Park every year. Roughly 60% attempt a multi-day trek. A third of those first-timers quit early or miss key sections because they didn’t plan for weather, permits, or weight. This guide fixes that. No fluff. Just the exact steps, gear, and logistics you need to finish your first Patagonia trek without regret.
Step 1: Choose Your Route — W Trek vs. O Trek vs. Single-Day Options
Patagonia has three main multi-day routes. Pick based on your experience, time, and fitness. Not ego.
The W Trek (5 days, 71 km / 44 miles)
This is the standard first-timer route. You hike through the three main valleys: Las Torres, French Valley, and Grey Glacier. Max elevation gain is about 800 meters (2,600 feet) on day one to the Torres base. Most people finish in 4-5 days. You sleep in refugios (basic huts) or camp. No technical skills required. Just solid fitness and waterproof gear.
The O Trek (8-10 days, 110 km / 68 miles)
Circles the entire Paine massif. Adds the remote backside with John Gardner Pass (1,200 meters / 3,900 feet). Tougher. More exposed to wind. Requires carrying more food since only one refugio on the backside. Only attempt this if you’ve done a 5+ day trek before. The W is the O’s easier little brother.
Single-Day Sections (for limited time)
If you only have 2-3 days, skip the full W. Hike the Base Torres day hike (18 km / 11 miles) and the French Valley day hike (20 km / 12 miles). You’ll see the highlights without the logistics headache.
Verdict: First time? Do the W Trek. Book refugios. Go November or March for smaller crowds. Save the O for later.
Step 2: Book Permits, Refugios, and Campsites — The Timeline That Works
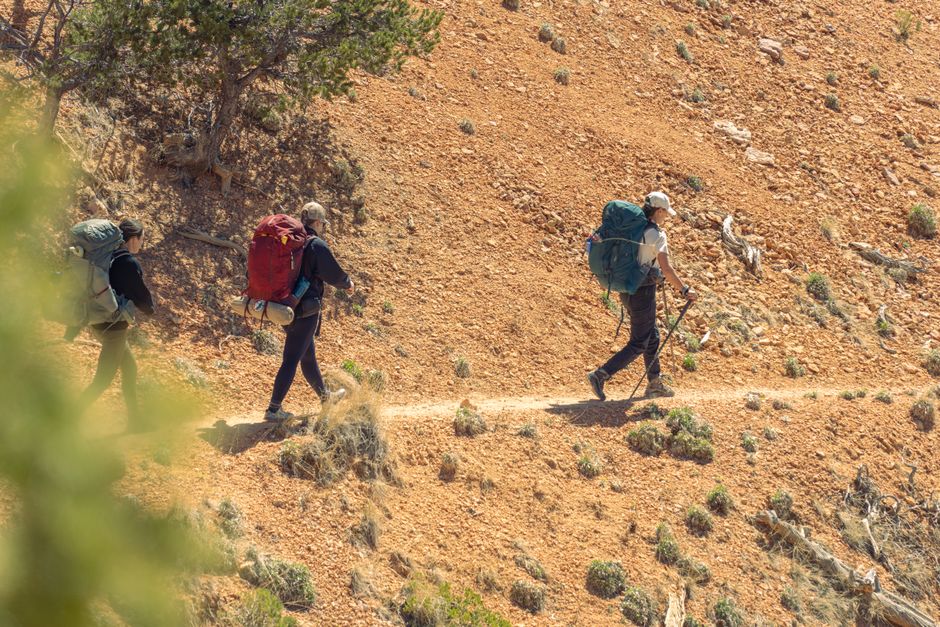
This is where most plans fall apart. Patagonia requires reservations for every single night. No walk-ins. Here’s the exact booking timeline.
When to Book
Reservations open 6 months ahead. For the W Trek, the key bookings are through Vertice Patagonia (campsites Grey, Paine Grande, Dickson) and CONAF (the free campsites like Italiano and Torres). Book refugios through Las Torres Patagonia for the Central and Norte sectors. Do this by October for December-February travel. By February for November or March travel.
What to Book
You need a park entry permit ($30 USD for foreigners, valid 3 days) plus nightly camping or refugio beds. A refugio bed costs $70-90 USD per night. Camping with your own tent costs $20-30 USD per night. Meals at refugios cost extra — $15-25 per dinner. Book everything in one sitting. Do not piecemeal it. Refugios sell out in hours for peak dates.
The Mistake to Avoid
Don’t book a refugio for night 1 in Puerto Natales, then try to figure out campsites later. Map your entire route east-to-west or west-to-east first. Then book every single night in order. One gap and you’re stuck hiking 30 km in a day to catch up.
| Route Segment | Distance (km) | Elevation Gain (m) | Book Via |
|---|---|---|---|
| Laguna Amarga to Las Torres Base | 18 | 800 | CONAF + Las Torres |
| Las Torres to Cuernos (via Italiano) | 12 | 200 | CONAF (free campsite) |
| Cuernos to French Valley to Paine Grande | 15 | 400 | Vertice Patagonia |
| Paine Grande to Grey Glacier | 11 | 150 | Vertice Patagonia |
| Grey to Refugio Grey (kayak/return) | 11 | 150 | Vertice Patagonia |
Step 3: Pack the Right Gear — The 10-Kilogram Limit
Patagonia wind will destroy a cheap tent. Rain will soak a non-waterproof jacket. And you will carry every gram on your back. Here’s what actually works for a 5-day W Trek.
The Big Three: Backpack, Shelter, Sleep System
Backpack: The Gregory Baltoro 65 ($260, 2.2 kg) fits the W perfectly. The Osprey Atmos AG 65 ($270, 2.1 kg) is the other top choice. Both have rain covers. Do not bring a 90L pack. You’ll overpack and hate life.
Shelter: If camping, bring a 3-season tent that handles wind. The MSR Hubba Hubba NX 2 ($500, 1.7 kg) is the gold standard. The Big Agnes Copper Spur HV UL2 ($450, 1.3 kg) is lighter but less wind-resistant. For refugios, skip the tent entirely — just bring a sleeping bag liner.
Sleep System: A 20°F (-6°C) down sleeping bag is mandatory. The Sea to Summit Ascent AC II ($350, 1.1 kg) packs small and keeps you warm. Pair it with a Therm-a-Rest NeoAir XLite NXT pad ($210, 370g). R-value 4.5. You will sleep warm even when it’s freezing outside.
The Clothing System (3-Layer Rule)
Base layer: Merino wool long-sleeve (Icebreaker 200 Oasis, $90). Mid layer: NauGear Down Jacket ($180, 300g, 800-fill). Outer shell: Arc’teryx Beta AR Gore-Tex jacket ($700, 460g). Rain pants: Outdoor Research Foray ($180, 340g). That’s it. One set worn, one set packed. No cotton. No jeans. No extra fleece.
The Mistake to Avoid
Do not bring trekking poles from a discount store. The wind will snap them. Use Black Diamond Distance Carbon Z Trekking Poles ($180, 480g per pair). They fold to 50 cm. They save your knees on the descent from the Torres. Test them at home first.
Step 4: Plan Your Food and Water — No Resupply on Trail
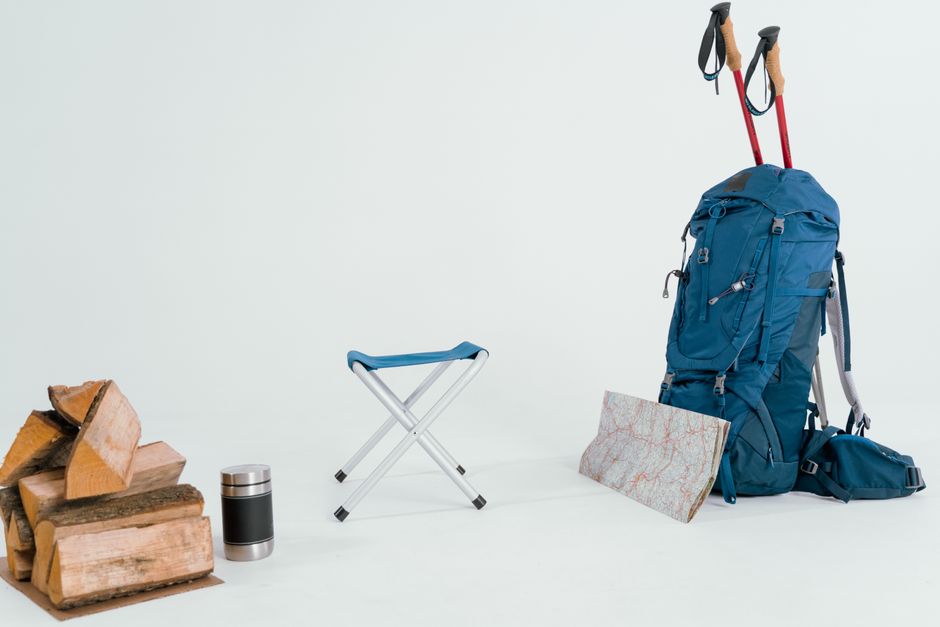
There are no stores on the W Trek. You carry everything from Puerto Natales. Here’s how to do it without eating cold oatmeal for five days.
What to Pack
Target 0.7-0.8 kg of food per person per day. That’s about 3,000 calories. Good options: Mountain House freeze-dried meals ($10 each, 600 cal), ProBar Meal bars ($3 each, 400 cal), instant oatmeal packets, peanut butter, tortillas, and hard cheese (keeps 3 days). Pack 2 liters of water capacity — use a Platypus 2L bladder ($25) plus a 1L Nalgene. Water is available at every refugio and stream. Treat it with Aquamira chlorine dioxide drops ($12 for 30 treatments). No need to boil.
When to Buy
Buy everything in Puerto Natales at Unimarc supermarket or Erratic Rock gear shop. Prices are 20-30% higher than Santiago but still reasonable. Do not buy freeze-dried meals at the park entrance — they cost $18 each. Stock up in town.
The Mistake to Avoid
Don’t pack glass jars, cans, or fresh vegetables. They’re heavy and create waste. Stick to dehydrated meals, nuts, dried fruit, and instant coffee. One exception: bring a lemon or lime for water flavor. It weighs 50g and makes every meal better.
Step 5: Handle the Weather, Wind, and Emergencies
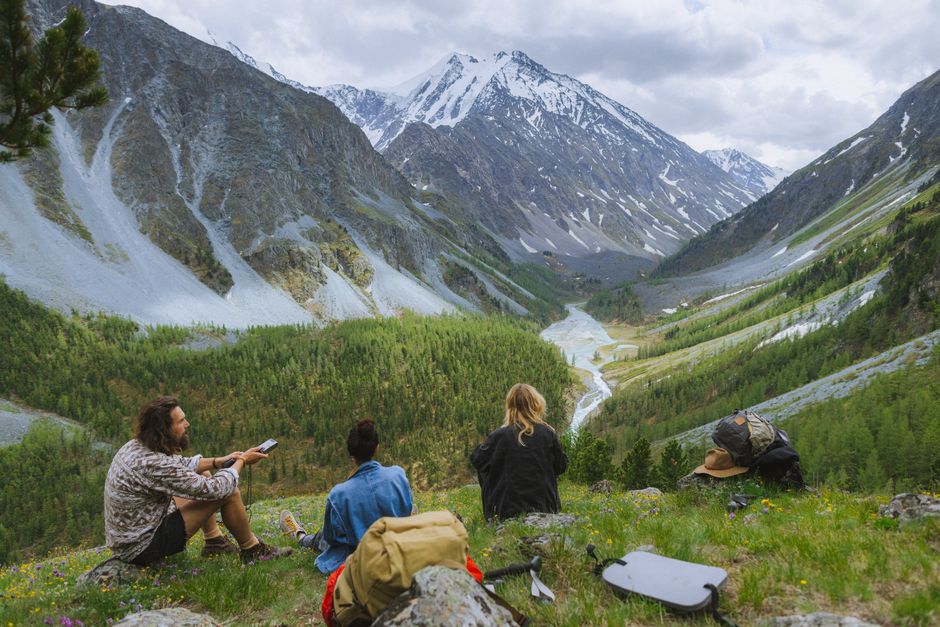
Patagonia weather changes in 20 minutes. You can get sun, rain, snow, and 100 km/h wind in a single afternoon. Here’s how to not get stuck.
What to Expect
Average temperatures in summer (Dec-Feb) are 10-15°C (50-59°F) during the day and 0-5°C (32-41°F) at night. Wind averages 40-60 km/h on exposed ridges. Gusts over 100 km/h happen weekly. Rain falls 15-20 days per month in summer. Plan for wet and cold every day. If you get a dry day, celebrate.
Navigation: Download the AllTrails Pro app ($35/year) with the W Trek offline map. The trails are marked but wind can blow signs over. Carry a physical map from Erratic Rock ($10) as backup. No GPS? Use the Garmin inReach Mini 2 ($400, 100g) for satellite texting and SOS. Cell service is zero on trail.
Emergency Protocols
If wind exceeds 80 km/h, do not cross exposed ridges. Wait at the nearest refugio. Hypothermia is the real killer — if you’re shivering uncontrollably, stop, get into dry clothes, and drink warm liquid. Every refugio has a first aid kit and radio. Rangers can evacuate by boat from Grey or Paine Grande within 2-4 hours. Know that. Trust that.
The one piece of gear that saves lives: A Sea to Summit Thermolite Reactor Plus sleeping bag liner ($60, 300g). It adds 15°F (8°C) of warmth to any sleeping bag. If your bag gets wet or you’re colder than expected, this liner keeps you alive. Pack it. Do not skip it.