Neighbourhood Walking Loops That Skip the Tourist Funnel

How do you see a city without spending the whole afternoon behind a tour group, following a flag, or buying an overpriced coffee on the same three streets as everyone else?
The answer is a neighbourhood walking loop: a route of roughly 4–6 kilometres that starts and ends near useful transport, passes through ordinary residential streets, and includes a few local anchors. It gives you enough structure to avoid getting lost without turning the day into a checklist. The best loops also have an exit point, so one closed café or sudden rain does not ruin the plan.
Build a 5-kilometre loop from three local anchors
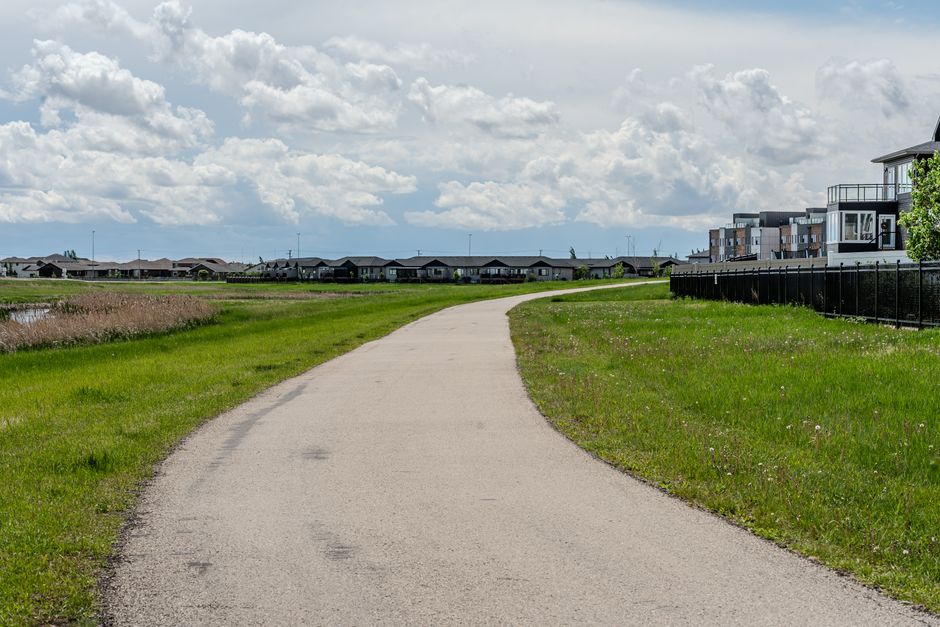
Start with a useful place, not a famous one. A neighbourhood market, public library, cemetery, train station, or park gives the route a clear beginning and a reason to exist. Famous attractions pull you toward the tourist funnel. Ordinary anchors spread the walk across streets where people live, work, and shop.
Set a hard boundary first
Draw a rough 2.5-kilometre radius around the starting point. That boundary prevents the classic mistake of adding one more sight until a manageable walk becomes a city-wide expedition. Keep the first 15 minutes easy: a flat street, a visible junction, and a nearby café or shop if you need water.
Then choose one direction based on the best street texture, not on the biggest name. A street with balconies, small workshops, and mixed-use buildings tells you more about a district than a polished plaza surrounded by hotels. You are looking for change: old buildings becoming newer ones, a residential lane opening onto a market, or a quiet park meeting a busy avenue.
Use three anchors with different jobs
The first anchor starts the walk. The second changes the mood. The third gives you a reason to turn back. For example, begin at a local market, walk to a canal or public garden, then finish near a tram stop beside a bakery district. This sequence creates movement without forcing you to chase attractions.
Space the anchors 20–35 minutes apart. That distance keeps the walk coherent and leaves time for detours. Avoid placing all three inside one popular zone. If two anchors appear in every guidebook, replace one with a practical place such as a sports ground, a municipal swimming pool, or a supermarket used by residents.
Close the loop on a lived-in street
The return leg should not simply retrace the outbound route. Use a parallel street one or two blocks away, but check the pavement, lighting, and crossings before committing. The best final stretch feels quieter and more ordinary than the opening stretch. That contrast is the point.
My clear verdict: a three-anchor loop with two escape points beats a landmark-heavy route every time. It is easier to finish, easier to shorten, and far more likely to show you the neighbourhood behind the postcard.
Use this route-planning checklist when the map looks tempting
A beautiful line on a screen can still produce a miserable walk. Check the route in this order before leaving.
The seven-point route check
- Confirm the starting point has a public transport connection and a second way home.
- Check the first kilometre for pavements, crossings, shade, and places to refill water.
- Look for a hard barrier such as a railway, motorway, river, or fenced compound.
- Mark one indoor fallback for rain, heat, or a sudden need for a toilet.
- Read the route at street level around every major turn, especially underpasses and stairways.
- Remove any section that exists only to reach a famous photo spot.
- Send the route to someone else or save an offline copy before leaving mobile coverage.
The ten-minute escape rule
At every 30-minute point, you should be able to reach a bus stop, station, main road, or familiar public place within ten minutes. This rule matters more than the exact distance. A short walk through steep streets can be harder to leave than a longer walk beside a tram line.
Do not treat a route as safe just because it is busy online. User photos often show the best angle, not the broken pavement, aggressive traffic, or long unlit section behind the building. Inspect the boring parts. They decide whether the loop feels relaxed or stressful.
If the map suggests a shortcut through private land, a gated courtyard, or a footpath with unclear access, remove it. A reliable loop should work on a normal weekday, not only at the exact moment a gate happens to be open.
Which tools are worth carrying on the loop?

The route method matters more than the gear, but a few tools can reduce friction. The best setup for most travellers is a phone, an offline map, comfortable shoes, and a small bag. Buying more equipment does not turn a poorly chosen route into a good one.
Is a map app enough?
For a city walk, Google Maps costs nothing and handles transit, opening hours, and live rerouting better than most specialist apps. It is the best default choice when the route crosses streets, parks, and public transport lines. Download the neighbourhood area before leaving your hotel because mobile coverage can fail in tunnels or older buildings.
Its offline maps help when a loop includes a long greenway or hillside trail, but the subscription is poor value for a pavement-only weekend.
Is a GPS watch worth the money?
For most neighbourhood loops, no. Buy the Garmin only if you already train, want recorded distance, or regularly walk outside mobile coverage. For a single city break, it is an unnecessary expense.
What should you carry?
It is my pick for a full day because the size prevents overpacking. If rain, rough paths, or steep ground are likely, choose a grippier walking shoe instead.
Bottom Line: use Google Maps for ordinary city loops, pay for a specialist app only when the route leaves the pavement, and spend money on comfortable footwear before buying a GPS watch.
How to avoid the costly detour and the fake-local route
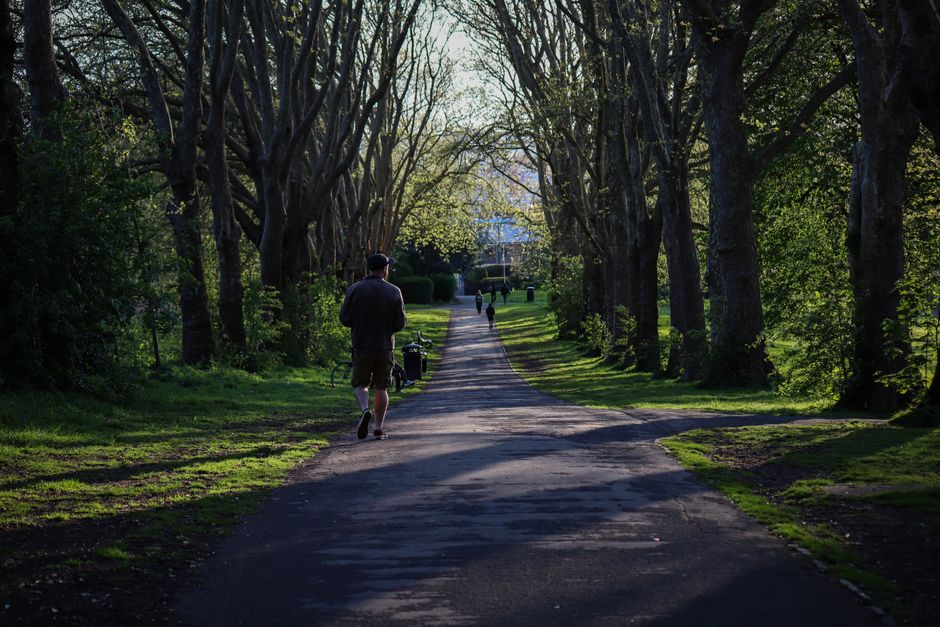
My strongest recommendation is to cut any section that feels unsafe, staged, or financially annoying. A neighbourhood walk should lower the pressure of sightseeing, not create another performance where you must prove you found a hidden gem.
Common failure modes to remove early
The first failure is mistaking quiet for authentic. A deserted street may be closed, unsafe, industrial, or simply unpleasant outside business hours. Check the route at the time you plan to walk it. The second is relying on one café or restaurant as the reward at the end. Opening hours change, and a queue can destroy the timing of the entire loop.
The third is underestimating hills and heat. A 4 km route with 150 metres of climbing can feel harder than an 8 km flat route. In hot weather, start before 10 a.m., carry at least 500 ml of water, and build the route around shade. In heavy rain, replace a long park section with a market, arcade, museum district, or tram ride.
When not to spend more money
Do not buy a premium travel app, GPS watch, or new bag for one short walk. Do not book a private tour simply because the map feels confusing; a local transit office, library, or hotel desk may give you a safer starting point for free. If you are considering a travel rewards card to pay for the trip, check the real cost first. Verify current issuer terms before applying. This is not financial advice.
For a first visit to a city with poor pavements, steep streets, or unclear access, choose a short guided walk or a transit-based neighbourhood hop instead. The clear winner for independent travellers is still a modest, reversible loop with a known exit. The best neighbourhood walking loop is a short circuit built around real local anchors, not a list of famous sights.