Travel Photography vs Street Photography: Choose Your Focus
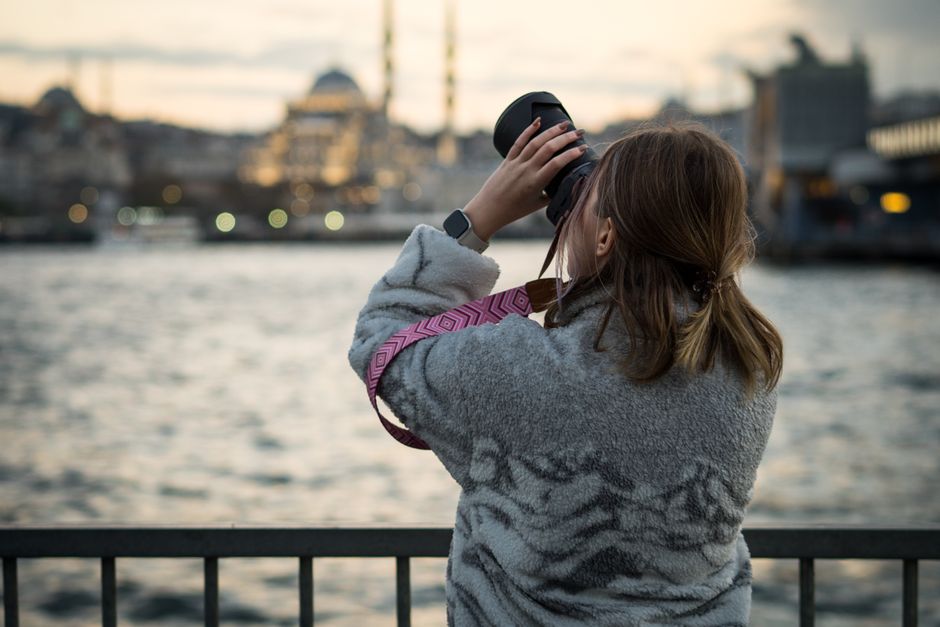
Travel photography records a place, while street photography studies life as it happens in that place. The two styles overlap, but choosing the right priority can change how you plan a day, approach people, and decide which images deserve space on your memory card.
What Is the Difference Between Travel and Street Photography?
Travel photography is place-led; street photography is moment-led. That distinction matters more than the camera in your hand. A travel image may show a famous temple, a mountain road, a meal, or a hotel neighborhood in a way that helps someone understand the destination. A street photograph can be made in the same location, but its subject is usually a human gesture, a brief relationship between strangers, or a small visual event that would disappear seconds later.
Travel photography often serves a practical purpose. It can help tell a trip story, explain a landscape, or give future visitors a sense of scale and atmosphere. Street photography asks a narrower question: what does ordinary public life look like here, and what happens when people, light, architecture, and timing line up?
The styles also differ in how much control you have. Travel photographers may return to a viewpoint at sunrise, wait for clean weather, or frame a landmark with a carefully chosen foreground. Street photographers accept more uncertainty. They walk, observe, react, and often make several imperfect frames before one image feels complete.
Travel photography favors context
A strong travel photograph gives the viewer clues. A doorway, local sign, train platform, market stall, or mountain range can establish where the image was made. The goal is not always beauty. Clarity and a sense of place matter just as much.
Street photography favors observation
A strong street photograph can work without naming the city. The image succeeds through timing, expression, shape, contrast, or tension. For a first trip to a new destination, travel photography is the better primary focus because it gives your final collection a clear sense of location.
Travel Photography vs Street Photography: Which Style Fits Your Trip?
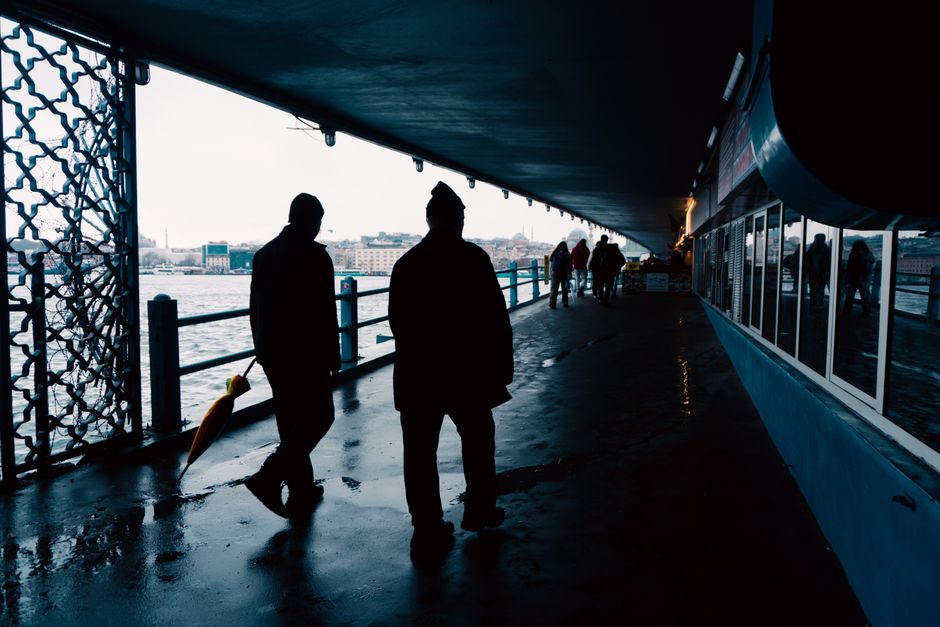
The fastest way to choose is to match the style to the kind of memory you want to bring home. A landscape-heavy trip needs patience and planning. A city break with long walks may reward quick reactions and a small camera. Use this comparison before you pack.
| Factor | Travel photography | Street photography |
|---|---|---|
| Main subject | Landmarks, landscapes, food, culture, and local context | People, gestures, encounters, and everyday public life |
| Best shooting pace | Slow and planned | Fast and reactive |
| Typical timing | Golden hour, blue hour, planned viewpoints | Changing light, movement, and unexpected moments |
| People in frame | Often secondary or posed with permission | Often central, usually candid in public spaces |
| Useful focal lengths | 24mm to 200mm for varied scenes | 28mm to 50mm for close observation |
| Biggest risk | Generic postcard images | Intrusive images or weak visual context |
| Best final collection | A visual story of the destination | A sequence of human moments |
Verdict: choose travel photography when your trip is built around scenery, history, food, or a multi-stop route. Choose street photography when you want to spend hours walking one neighborhood and reacting to daily life. Most travelers should use travel photography as the main structure, then add street images to make the story feel personal rather than purely touristic.
How to Shoot Both Styles on the Same Trip
You do not need to divide a trip into “travel days” and “street days.” A better method is to give each part of the day a job. This keeps you from spending an entire morning chasing random frames while missing the place itself.
- Start with one establishing image. Photograph the street, coastline, station, or landscape before moving close to details. This gives your later images a visual anchor.
- Walk one route without shooting for ten minutes. Notice where people gather, where the light falls, and which corners create layers. Street photography improves when you observe first.
- Set a simple technical baseline. In daylight, try 1/500 second for moving people, f/5.6 for a balanced scene, and Auto ISO with a limit that keeps noise acceptable on your camera.
- Make three distance changes. Photograph the wider setting, a medium interaction, and a close detail. This creates variety without changing locations constantly.
- Ask before making a close portrait. A smile, gesture, or short explanation usually works better than silently placing a camera inches from someone’s face.
- Return at a different time. The same market at 8 a.m. and 7 p.m. can produce two completely different stories. Light and crowd behavior matter more than a long checklist of landmarks.
- Keep a daily edit. Mark five frames each evening: one place image, two human moments, one detail, and one personal favorite. This stops the final gallery from becoming 200 versions of the same monument.
Verdict: use a repeatable route and a small daily image target. That approach gives travel photography enough context and street photography enough time to develop.
Why Street Photography Feels Harder Than Travel Photography
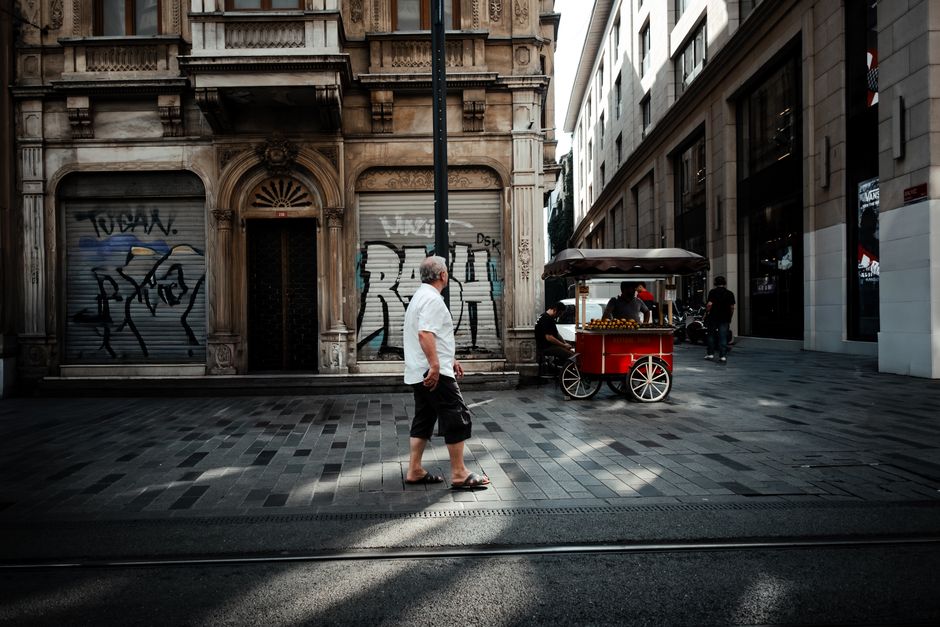
Street photography creates a social problem that landscape photography does not: the subject may notice you. That pressure can make travelers raise the camera too late, avoid interesting scenes, or take photographs from so far away that the image loses energy. The fix is not more bravery. It is a clear way to act.
Begin in places where photography already makes sense, such as public markets, transport platforms, festivals, or wide plazas. Keep your camera visible and behave normally. If you hide behind a wall or pretend to photograph something else, people may feel more uneasy when they realize what happened. A calm, direct approach is usually kinder.
Public photography rules vary by country, and local customs matter even when the law permits a photograph. Avoid photographing vulnerable people for entertainment, especially children, people receiving medical care, or anyone in a clearly private moment. Do not block a path, follow someone who has asked you to stop, or treat a refusal as a challenge.
Use distance as a respect tool
A 35mm-equivalent view lets you include a person and the surrounding street instead of turning every frame into an unwanted portrait. The wider context also helps the photograph say something about the destination. If you want a tighter portrait, ask first and show the person the result when appropriate.
Edit for dignity and meaning
Delete frames that rely only on embarrassment, poverty, or shock. Keep images where the person has agency and the scene has visual or cultural meaning. The best street photographs make viewers curious about a place; they do not use strangers as props.
Verdict: street photography is worth adding to a trip only when you are willing to respect the people who make the scene interesting. If that social exchange feels wrong for your travel style, focus on architecture, landscapes, details, and portraits made with permission.
What Gear Works Best for Travel and Street Photography?
My pick for most travelers is a small interchangeable-lens camera with one compact prime lens. It gives you better low-light control than a phone without forcing you to carry a full professional kit. A 28mm or 35mm equivalent lens covers streets, interiors, food, and environmental portraits well.
The Fujifilm X-S20 is a strong all-round travel choice because its 26.1-megapixel APS-C sensor, in-body stabilization, and 6.2K video fit mixed travel assignments. The Fujifilm X100VI is better for photographers who want a fixed 35mm-equivalent lens and a quiet, compact setup; its fixed lens removes the temptation to keep changing focal lengths. For discreet city walks, the Ricoh GR III offers a pocketable body, a 24-megapixel APS-C sensor, and a fixed 28mm-equivalent lens. It is the clearest choice for street-first travelers who value speed and low weight over zoom range.
Those cameras are not mandatory. A phone can handle bright daylight, architecture, and quick snapshots. The Canon EOS R50 with its 24.2-megapixel APS-C sensor makes more sense when you want interchangeable lenses and an approachable control layout. The Sony a6700 is the better upgrade for travelers who need strong autofocus, a 26-megapixel sensor, and reliable subject tracking for moving people or wildlife.
Do not buy a long zoom simply because it sounds versatile. A large lens adds weight, attracts attention, and can make street work feel distant. Buy the smallest setup that covers your real trip. For a first city trip, the Ricoh GR III wins. For a mixed landscape, food, and portrait itinerary, the Fujifilm X-S20 with a compact 23mm or 27mm lens is the better tool.
Travel Photography and Street Photography: Common Questions
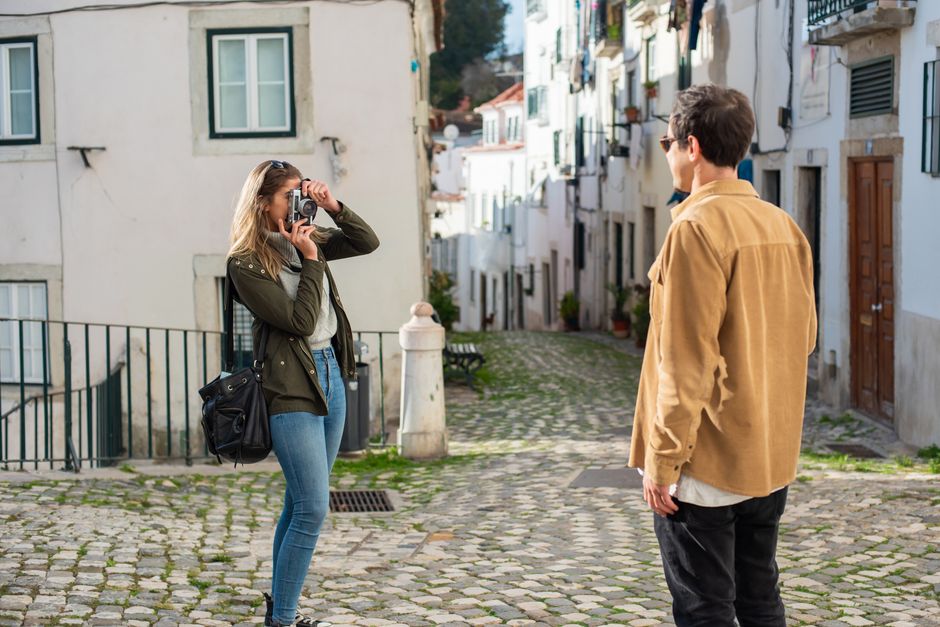
Can a travel photograph also be a street photograph?
Yes. A photograph of a Lisbon tram, a vendor in Marrakech, or commuters crossing a Tokyo intersection can serve both styles. The label depends on the image’s purpose. If the frame mainly explains the destination, it leans toward travel photography. If the frame centers on a fleeting human moment, it leans toward street photography.
Which style is easier for beginners?
Travel photography is easier to start because you can work with static subjects and take time to compose. Street photography has a steeper social and timing curve. Beginners should build confidence with architecture, signs, shadows, and wide scenes before making close candid images.
Is a zoom lens better for travel photography?
A zoom is useful for landscapes, wildlife, and changing viewpoints, but it is not automatically better. A compact standard zoom gives flexibility; a small prime gives lower weight, wider apertures, and a more consistent visual style. For a walking-heavy trip, I would choose the compact prime.
Should I edit travel and street photos differently?
Keep travel edits clear and natural so colors, landmarks, and landscapes remain believable. Street images can tolerate stronger contrast, monochrome treatment, or tighter crops when those choices support the moment. Avoid heavy presets that make every city look identical.
What is the best final recommendation?
Choose travel photography as your foundation if you want a complete record of a destination. Add street photography when you want emotion, surprise, and local rhythm. The strongest trip galleries combine both: place first, people second, and enough breathing room for the viewer to understand why the journey mattered.